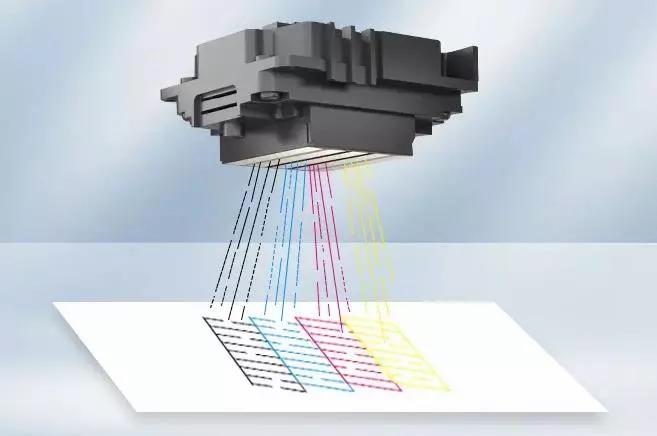
1. Regular Use
- Print Frequency: Aim to print at least once a week. If you don't print regularly, the ink in the nozzles may dry out.
- Test Print: If you haven't used the printer for a while, run a test print to check for blockages. Most printers have a "Print Test Page" option in their maintenance menu.
2. Shut Down Correctly
- Use Power Button: Always use the power button to turn off the printer. This ensures that the print head returns to its protected original position.
- Wait for printer to shut down: Allow the printer to complete its shutdown process before unplugging it. This usually takes a few seconds.
3. Keep It Clean
- Built-in cleaning function:
- Access Features: Go to the printer's control panel or the software on your computer. Look for the maintenance or tools section.
- Run Cleaning Cycle: Follow the prompts to start the cleaning cycle. This may take several minutes.
- MANUAL CLEANING:
- Materials Required: Lint-free cloth, distilled water or isopropyl alcohol (70% or higher).
- Steps:
1) Turn off and unplug: Always turn off and unplug the printer before cleaning.
2) Remove the ink cartridge: Carefully remove the ink cartridge to access the print head.
3) Wet Cloth: Lightly moisten the cloth with distilled water or alcohol.
4) Wipe the print head: Gently wipe the print head and its surrounding area. Avoid applying excessive pressure to prevent damage.
5) Dry: Allow the print head to dry completely before reassembly.
4. Use High Quality Ink
- OEM Cartridges: Always use Original Equipment Manufacturer (OEM) cartridges and high quality
pigment inks or dye inks from famous brand. They are designed specifically for your printer model to reduce the risk of clogging.
- Avoid Generic Brands: Generic or off-brand cartridges may not perform as well and may cause more frequent clogs.
5. Store Correctly
- Cover the printer: Use a dust cover or cloth to protect the printer when not in use. This prevents dust from accumulating.
- Ideal Environment: Place the printer in a room with stable temperature (preferably between 60°F and 80°F) and humidity (approximately 40-60%).
6. Check Ink Level
- Periodic Monitoring: Check the
pigment ink levels via the printer's display or software. Most printers will alert you when they are low on ink.
- Replace Ink Cartridges: Replace the ink cartridges before they are completely dry to avoid damaging the print head.
7. Avoid Paper Jams
- Use Recommended Paper: Always use the paper type and size recommended by the manufacturer. This reduces the risk of clogging.
- CLEAR JAM: If media jam occurs, carefully follow the manufacturer's instructions. Pulling the paper out with force may damage the print head.
8. Use Printer Maintenance Tools
- Software Maintenance: Use any maintenance software provided by the manufacturer. This may include alignment, cleaning and diagnostic tools.
- Firmware Updates: Regularly check the manufacturer's website for firmware updates to ensure optimal performance.
9. Keep the Printer Level
- Stable Surface: Make sure the printer is on a flat, stable surface to prevent mechanical issues.
- Avoid Vibration: Keep the printer away from areas with dense traffic or vibrations, otherwise the print quality will be affected.
10.Environmental Control
Stable Environment: Keep the printer in a room with stable temperature (60°F to 80°F) and humidity (40-60%).
Dust Protection: Use a dust cover when the printer is not in use to prevent dust accumulation.
11. Professional Services
- Periodic Inspections: If you notice that the problem persists, consider having your printer serviced by a professional technician.
- Deep Cleaning: Professionals can perform deep cleaning of printheads and other components that may not be accessible to regular users.
Extra Tips
- Use the right settings: When printing, select appropriate settings for the document type (for example, select Draft mode for less important prints) to reduce ink usage.
- KEEP SOFTWARE UPDATED: Make sure your printer drivers and software are up to date to avoid compatibility issues.
 Sep 27,2024
